Jun 27, 2019

Notebook : Lenovo IdeaPad 305-15IBD [MT : 80NJ] (Disassembly)


Another posting for disassembly of a Lenovo notebook, the access to the RAM and HDD upgrade is very simple but to service the CPU's fan or refreshing the thermal compound required further steps as below :-

1. Remove the easy access cover, screws position as highlighted with arrow.


2. After removed, it will reveals the RAM slots and the HDD. Even access to the CMOS battery and the Wireless card is visible.

At this stage you can easily upgrade the RAM or the HDD but if you wanted further access such as to the CPU then proceed to step #3 below.


3. Remove those screws as per highlighted in arrow below.


4. Turn over to remove the keyboard panel.


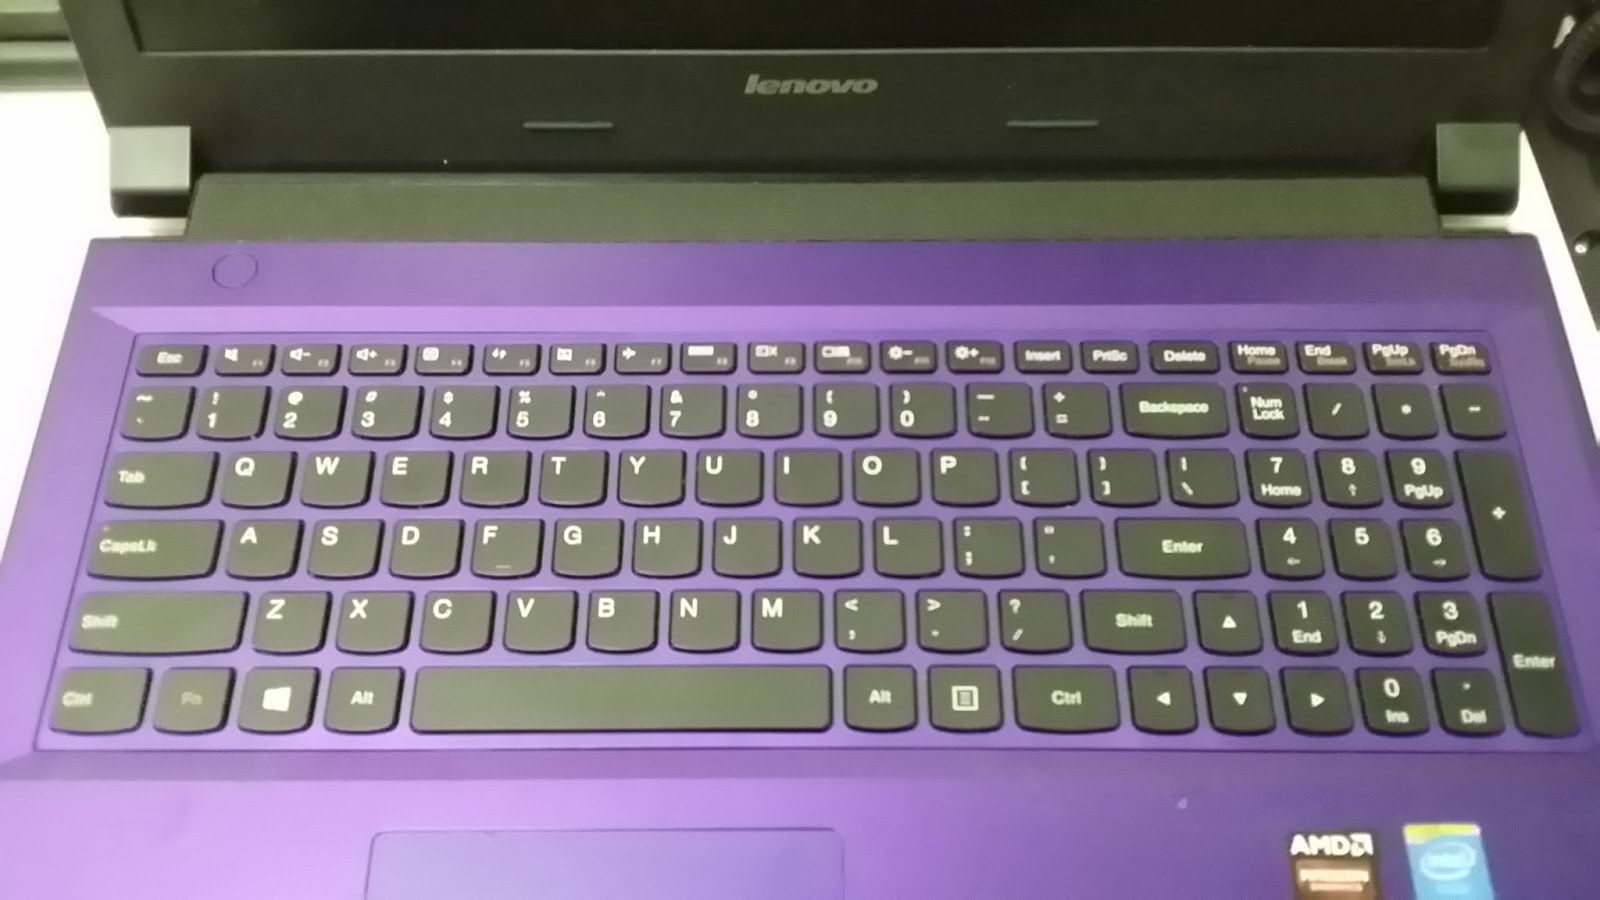
5. Carefully and slowly peel the keyboard panel to reveal the bezel. Becareful of the keyboard's ribbon cable as usual.

As this unit was serviced before, thus I did noticed some missing screws which was supposed to be there but aren't. As such I was unable to determined the actual screws location for this bezel.


6. Now slowly and carefully remove the keyboard's bezel for the mainboard access.


7. Next is to disconnect those ribbon cables as circled in red and remove the screws as per arrows shown below.


8. Once you have done that, slowly flip over the mainboard to access the CPU's heatsink and fan, there you can proceed to refresh the thermal compound and clean the heatsink and fan.

This model is very easy and have simple access, you just need to be very meticulous in looking for the screws as its very obvious and noticeable.


!!! HAPPY COMPUTING !!!

Jun 18, 2019

Windows 10 : Enabled Edition Selection

Have you ever encountered OEM computers that have the "Digital Key" embedded into the BIOS/UEFI ? Now days modern computers whether desktops or laptops is running on UEFI and have the Windows License Key embedded into it.

But this license is either OEM or the pre-specified Edition (eg. Home Edition), this is good relatively to End Users but for Corporate Users that have their own licensing (eg, MAK/VLK) then it will be a headache. This is because the Windows 10 will automatically detect the OEM version at startup (even though you install from scratch) and automatically pre-select the appropriate Edition for you. But you wanted to use your own Corporate License Key and thus causes headaches.

There is a simple workaround on this, just follow these steps below :-

1. Download the Windows 10 ISO file, any architecture will do (eg. 32-bit/64-bit). You can use the Windows Media Creation Tool to download. You can also follow this steps on how to download and save it as an ISO file, link here.

2. Once downloaded, use any ISO browser/maker (I'm using MagicISO but any tools will do). Browse to "/sources" folder and look for a file named "ei.cfg", copy the file into your local folder (eg. Documents).

Note : If you are unable to locate the file in the ISO, no worry..... just create the file, ensuring the extension is correct will suffice.

3. Edit the "ei.cfg" file using Notepad. You may see the contents something similar as below.


4. Modify the contents as below, depending on your license type it may varies. Since our license is "Volume License" thus we need to enabled it.


5. Save the file then copy and paste it back to "/sources" folder and overwrite it. Now save the ISO file, next is your choice of either creating a bootable USB drive or burn the ISO into a DVD disc.

6. You may also want to have read on this in Microsoft Website for a better understanding.


!!! HAPPY COMPUTING !!!