Showing posts with label Lenovo. Show all posts
Jun 27, 2019
Notebook : Lenovo IdeaPad 305-15IBD [MT : 80NJ] (Disassembly)
Another posting for disassembly of a Lenovo notebook, the access to the RAM and HDD upgrade is very simple but to service the CPU's fan or refreshing the thermal compound required further steps as below :-
1. Remove the easy access cover, screws position as highlighted with arrow.
2. After removed, it will reveals the RAM slots and the HDD. Even access to the CMOS battery and the Wireless card is visible.
At this stage you can easily upgrade the RAM or the HDD but if you wanted further access such as to the CPU then proceed to step #3 below.
3. Remove those screws as per highlighted in arrow below.
4. Turn over to remove the keyboard panel.
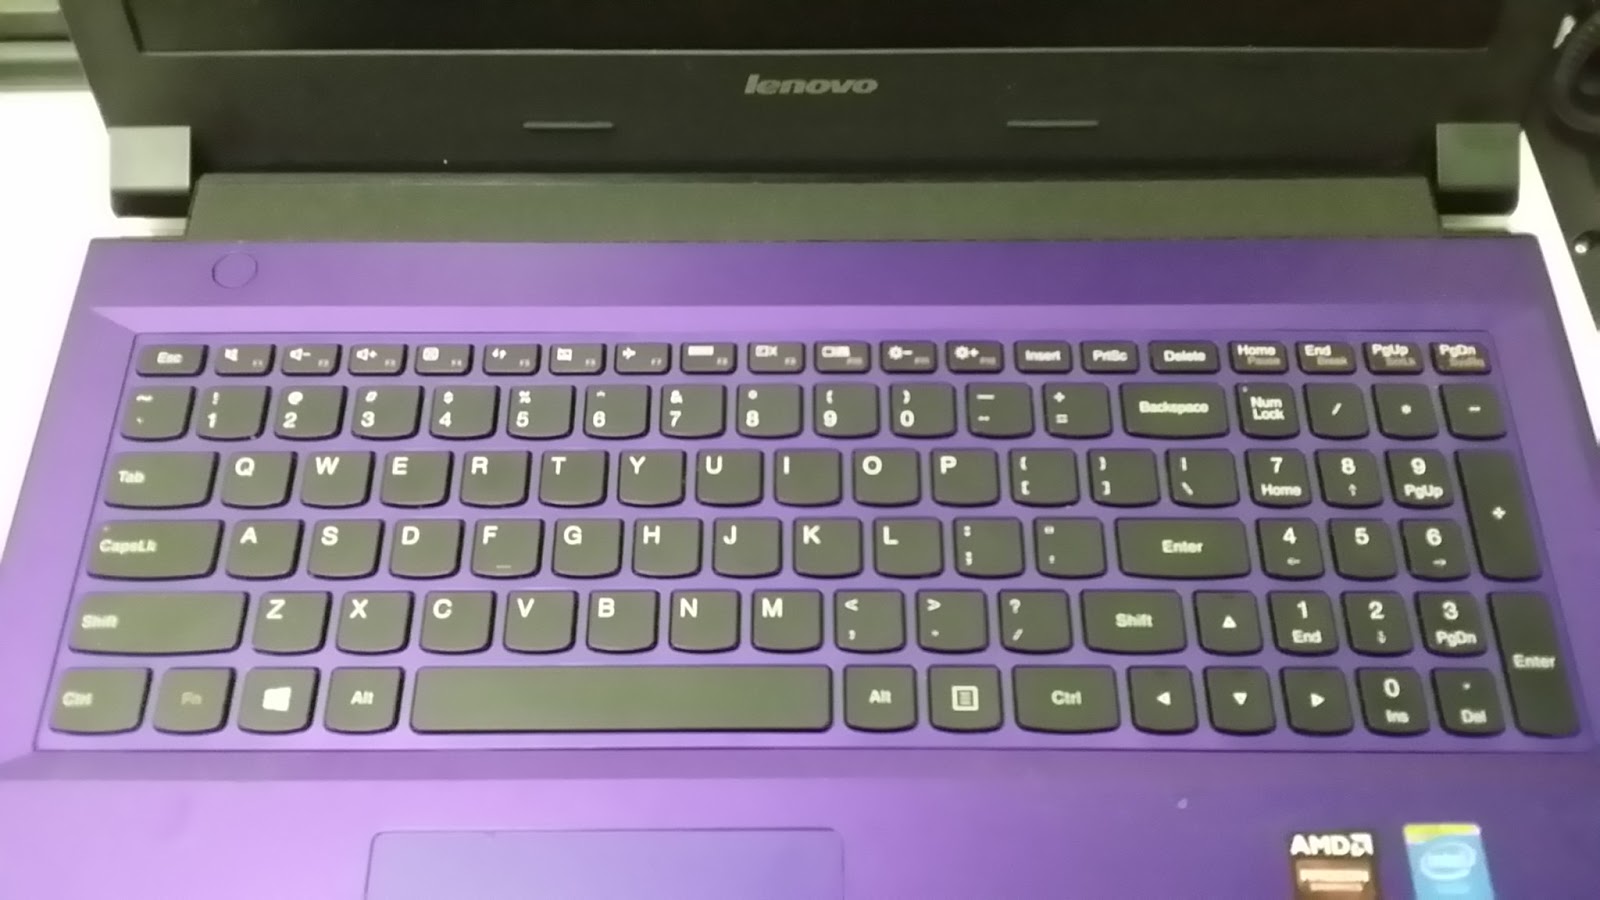
5. Carefully and slowly peel the keyboard panel to reveal the bezel. Becareful of the keyboard's ribbon cable as usual.
As this unit was serviced before, thus I did noticed some missing screws which was supposed to be there but aren't. As such I was unable to determined the actual screws location for this bezel.
6. Now slowly and carefully remove the keyboard's bezel for the mainboard access.
7. Next is to disconnect those ribbon cables as circled in red and remove the screws as per arrows shown below.
8. Once you have done that, slowly flip over the mainboard to access the CPU's heatsink and fan, there you can proceed to refresh the thermal compound and clean the heatsink and fan.
This model is very easy and have simple access, you just need to be very meticulous in looking for the screws as its very obvious and noticeable.
!!! HAPPY COMPUTING !!!
May 4, 2019
Notebook : Lenovo IdeaPad S500 [P/N : 500-14ISK] (Disassembly)
For this particular model the Lenovo IdeaPad S500 is kinda also like the rest, where you need to remove the entire bottom cover just for RAM or HDD upgrade. Luckily it was relatively easy (so to speak) to locate the DIMM slot(s).
But sadly there is only 1 DIMM slot available thus you can only upgrade to a higher capacity RAM instead of adding more.
As I'm removing the bottom cover, I found out that there's are no hidden screws beneath those rubber pads. Well... lucky me. :D
Immediately I'm greeted by the mainboard, HDD and battery..... but wait, where is the RAM's slot(s) ? Not another type that need to remove the mainboard just to flip over to reveal the it ?
Of course no, its just been covered up by the aluminium shielding (as show below).
After removing the shielding, now you can see the DIMM slot is now visible.
Sadly as I've mentioned earlier, there is only a single DIMM slot available. So you can only choose to replace the existing RAM with higher capacity. Upon checking with Kingston website, only the following model is available :-
1) Kingston 8GB DDR3 1600Mhz [P/N : KCP3L16SD8/8]
There is also a 4GB model, but the existing unit is already at 4GB capacity thus I never bother to check it out since higher capacity of 8GB is available.
This also shows that the maximum capacity available for this notebook is max out at 8GB, there's no way you can upgrade to 16GB (unless you are able to source it and its kinda expensive here in Malaysia for that capacity). Even though you are able to source similar specifications, but there's no guaranteed it will be stable as its untested.
I still preferred parts that are fully tested and proven to works, anyway its up your choice.
!!! HAPPY COMPUTING !!!
But sadly there is only 1 DIMM slot available thus you can only upgrade to a higher capacity RAM instead of adding more.
As I'm removing the bottom cover, I found out that there's are no hidden screws beneath those rubber pads. Well... lucky me. :D
Immediately I'm greeted by the mainboard, HDD and battery..... but wait, where is the RAM's slot(s) ? Not another type that need to remove the mainboard just to flip over to reveal the it ?
Of course no, its just been covered up by the aluminium shielding (as show below).
After removing the shielding, now you can see the DIMM slot is now visible.
Sadly as I've mentioned earlier, there is only a single DIMM slot available. So you can only choose to replace the existing RAM with higher capacity. Upon checking with Kingston website, only the following model is available :-
1) Kingston 8GB DDR3 1600Mhz [P/N : KCP3L16SD8/8]
There is also a 4GB model, but the existing unit is already at 4GB capacity thus I never bother to check it out since higher capacity of 8GB is available.
This also shows that the maximum capacity available for this notebook is max out at 8GB, there's no way you can upgrade to 16GB (unless you are able to source it and its kinda expensive here in Malaysia for that capacity). Even though you are able to source similar specifications, but there's no guaranteed it will be stable as its untested.
I still preferred parts that are fully tested and proven to works, anyway its up your choice.
!!! HAPPY COMPUTING !!!
Nov 23, 2015
Notebook - Lenovo IdeaPad Z500 (Disassembly)
I've no idea why Lenovo called it IdeaPad and I've no idea why in world they doesn't allow access to the common parts like HDD & RAM.
Shouldn't the most common components/parts that are easily available for upgrades should be also easily accessible ?
I took a hard time trying to figure out how the heck to remove the back cover to access the RAM which I was trying to upgrade, fortunately with years of disassembly of notebooks around my belt I did managed to remove the cover and have access to the RAM.
I find it very ridiculous to go all the way to remove the back cover just to install/upgrade a RAM, why Lenovo can't think straight & just allow a particular section accessible by user for the upgrades (just like HP) ? C'mon now in this era of technology, even my daughter knows how to handle a common upgrades... why Lenovo doesn't allow the access ?
Nevertheless, I'm not that easily discouraged person..... so here goes the :-
1. At the back cover of the notebook, there is hidden screws underneath the rubber stands.
2. Before you can remove the back cover, there are more hidden screws located behind the keyboard.
3. Now you can remove the ODD (Optical Disc Drive) or more commonly known DVDRW drive. Removing the drive will disclose more hidden screws.
4. Then you need to carefully remove the back cover, you must be very careful at this stage as not to break any of its interlock mechanism, else you will find it difficult to secure the cover back.
5. Once the cover is removed, it will revealed the mainboard. I took the liberty to label each common components in case that someone might need to change/upgrade other components as well.
6. This is the existing RAM 4GB found inside the notebook. Some how the label was not very helpful at all in determining the RAM's specifications, I've to googled again.
7. This is the new RAM I've bought from my trusted vendor in Plaza Low Yat, C-Zone shop. A Kingston 8GB PC3-12800 CL11 (2 pcs).
8. The RAM have been successfully installed and Windows is booting like normal, the new 16GB total RAM seems to be in effects immediately where Win8.1 is booting at a much faster rate than previous.
Seriously, its took me about 30-45 mins just to disassemble and assemble it back. Lenovo have to re-think or re-design their notebooks, especially for consumer models.
Come on guys (Lenovo), at the age and era of advanced technologies these common components can be simply upgraded without any hassles.
Happy Computing !
Shouldn't the most common components/parts that are easily available for upgrades should be also easily accessible ?
I took a hard time trying to figure out how the heck to remove the back cover to access the RAM which I was trying to upgrade, fortunately with years of disassembly of notebooks around my belt I did managed to remove the cover and have access to the RAM.
I find it very ridiculous to go all the way to remove the back cover just to install/upgrade a RAM, why Lenovo can't think straight & just allow a particular section accessible by user for the upgrades (just like HP) ? C'mon now in this era of technology, even my daughter knows how to handle a common upgrades... why Lenovo doesn't allow the access ?
Nevertheless, I'm not that easily discouraged person..... so here goes the :-
1. At the back cover of the notebook, there is hidden screws underneath the rubber stands.
![]() |
| All the screws including those hidden is highlighted here. |
![]() |
| Hidden beneath the rubber stand. |
2. Before you can remove the back cover, there are more hidden screws located behind the keyboard.
![]() |
| Remove the keyboard, simple peel from the each sides carefully. |
![]() |
| Remove screws as highlighted here. |
![]() |
| The ODD after removed. |
![]() |
| More hidden screws. |
5. Once the cover is removed, it will revealed the mainboard. I took the liberty to label each common components in case that someone might need to change/upgrade other components as well.
7. This is the new RAM I've bought from my trusted vendor in Plaza Low Yat, C-Zone shop. A Kingston 8GB PC3-12800 CL11 (2 pcs).
8. The RAM have been successfully installed and Windows is booting like normal, the new 16GB total RAM seems to be in effects immediately where Win8.1 is booting at a much faster rate than previous.
Seriously, its took me about 30-45 mins just to disassemble and assemble it back. Lenovo have to re-think or re-design their notebooks, especially for consumer models.
Come on guys (Lenovo), at the age and era of advanced technologies these common components can be simply upgraded without any hassles.
Happy Computing !
Subscribe to:
Posts (Atom)


