This happens to be one of the request from a friend asking me whether there's such a free services available, and the answer is YES.
After some googling, I found this particular website useful and met all the requirements, though the free version only allows a maximum of 100 forms per month and the rest well you need to pay. Yeah, fair enough for a free services.
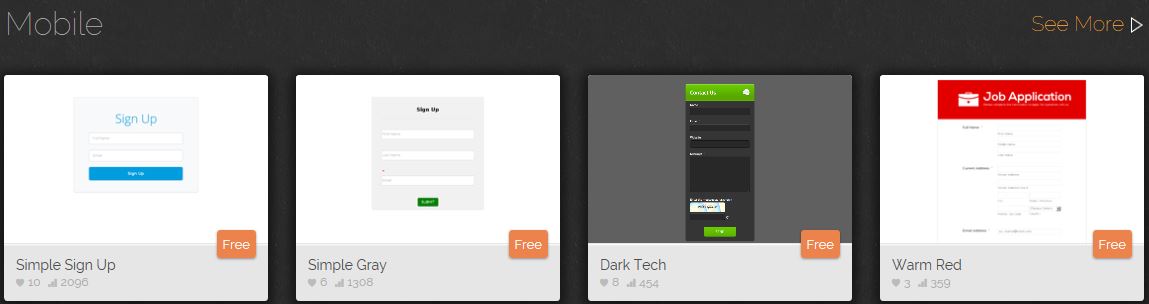
URL : http://www.jotform.com
For a more easier management, I would suggest that you create a free account first. It's easy to register a free account.
1. Once you're at the website --> Click the "Sign Up" link.
2. As usual, fill-in all the required details then click --> "Create My Account" button.

3. Once completed, you will be automatically login, just click --> "Templates" link. Select your desired templates (in this case mine is "Registration").

4. You will be prompted for confirmation, just click --> "Use template" button to continue.


6. Here you can choose whatever colour and themes you like, mine I preferred to have an easy view on mobile devices thus the mobile themes is selected.
7. Note that some themes required purchases, so select carefully. Once selected, you will be prompted for confirmation, just click --> "Use Theme" button.

8. Now choose your previously loaded "Templates" by clicking the form displayed on the right column, then click "Install Theme" button to continue.

9. Once it's installed, you will see the following screen. Just click on the "X" button on the top right corner column.

10. Now you new theme is preloaded with the template you have chosen, you may proceed to modify any of the contents you deem fits.

11. Take note on the right column bar where all your tools for form creation is located, just a simple drag-n-drop function.

12. Also the menu bar on top displayed multiple configurations and settings for this particular form, such as "Emails" button where you configure the recipient email address. Click --> "Add New Email" button.


13. Now select --> "Notifier" option since you will want to be notify via email if someone have fill-in the form and have it email to you. Click --> "Next" button.

14. On the next screen, you'll be prompted to key-in all the relevant details. Once completed, click --> "Next" button.


15. Preview the information displayed as it will be the information you're going to receive via email. Once you have confirmed the information & layout, click --> "Finish" button.

16. You can also configure the "Thank You" settings where once the form been clicked "Submit" by the visitor, it will display this screen.

16.1. Change/modify any format you wanted, but this is an example and I'll be showing some basic stuff only.

16.2. Note the font's colour have been changed.


18. You can view all your online forms, edit it or even delete it.

19. Once all is done, what left is to publish this form to your website. Now there are several options available and the easiest way is to create a shortcut link in your website and redirect it to your form.
20. Explore more yourself for more "Advanced" settings and configurations for your forms, JotForm does have a tutorials for you on those basic configurations and some more advanced configurations.
Do visit their website for more information.
No comments:
Post a Comment